 Preparing your body for Mount Kinabalu in just 30 days may sound ambitious, but many climbers underestimate how far a month of focused, realistic training can take them. You do not need extreme fitness. You do not need to become a long-distance runner. What you truly need is a combination of leg endurance, steady cardiovascular capacity, joint stability, and the ability to move comfortably for long periods on steep, uneven ground. You will probably notice that the climb rewards consistency more than brute strength.
Mount Kinabalu is a steady, upward journey that behaves like a giant staircase made of rocks, roots, and uneven terrain. Your body will deal with repetitive climbing and a long descent that challenges your knees and hips. If you approach your training with a practical mindset, 30 days is enough to prepare your body well. You will not feel invincible during the climb, but you will feel capable, calm, and physically ready to enjoy the experience.
This guide walks you through how to train physically for Mount Kinabalu in 30 days in a grounded, human way. No exaggerated promises. No intimidating fitness jargon. Just real steps you can follow.
Understanding What Mount Kinabalu Demands
The Real Physical Workload
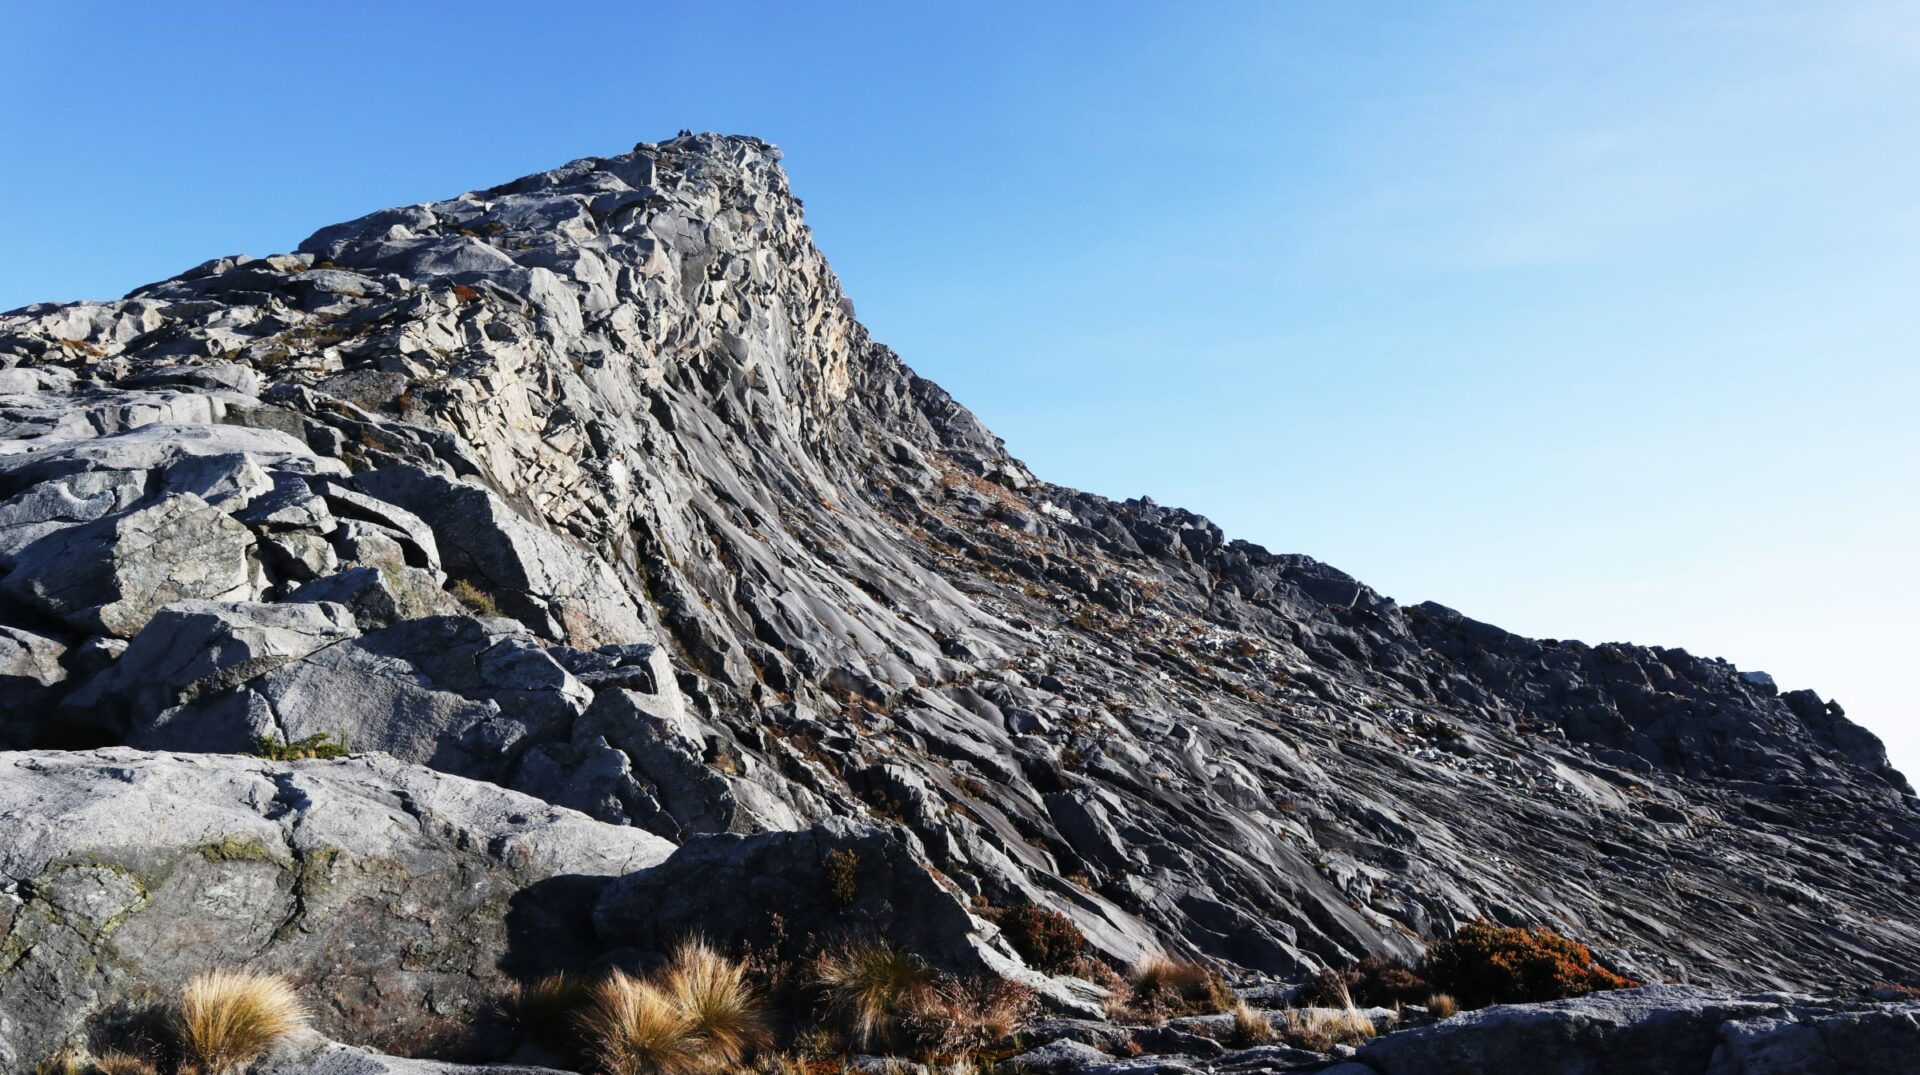
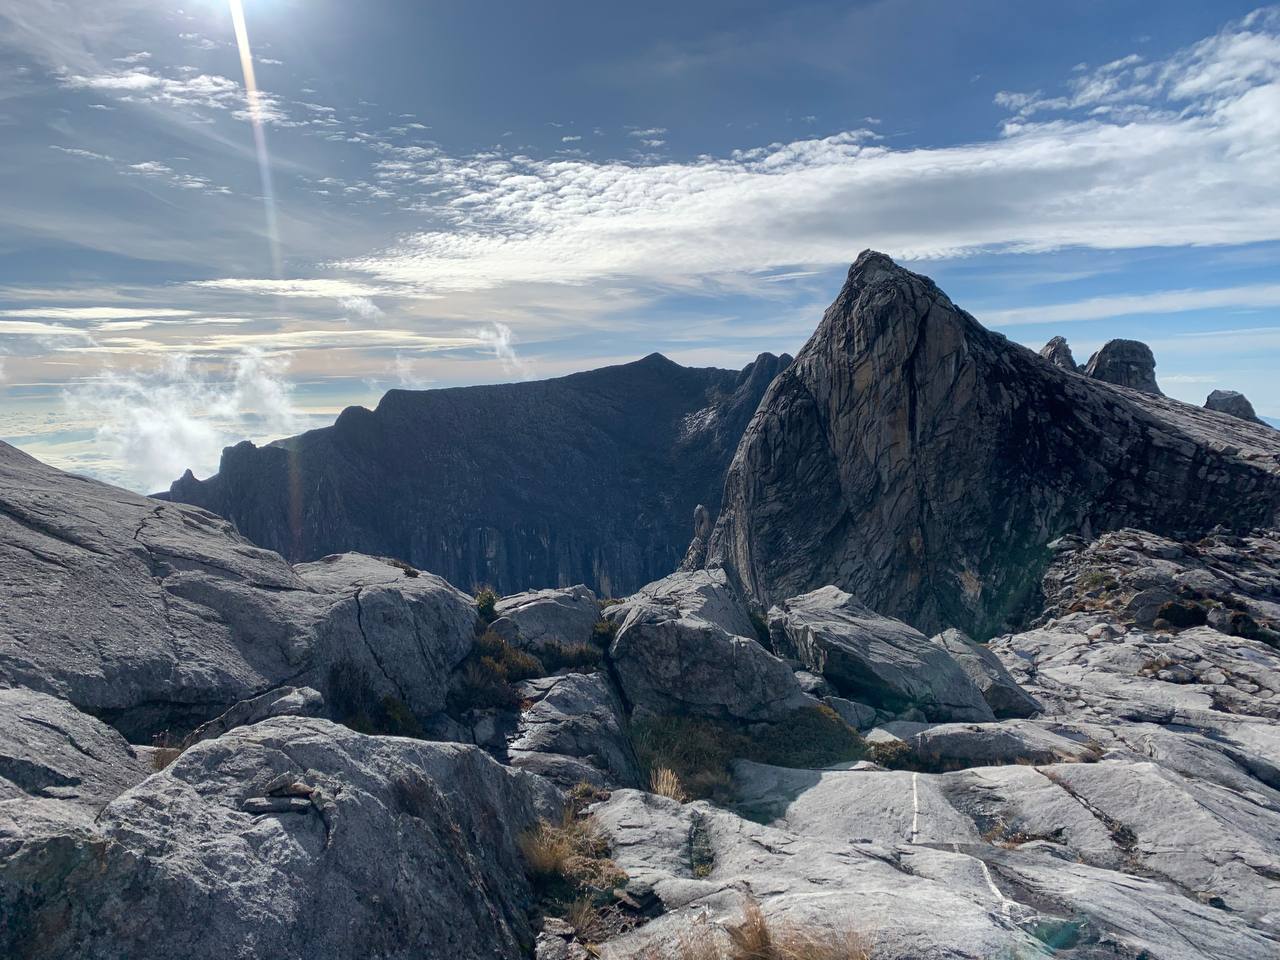
Mount Kinabalu is essentially a long, steady ascent that lasts for hours. The trail starts with stairs, continues with more stairs, and ends with granite slopes when your legs are already tired. You will feel the climb from your thighs all the way down to your calves. Most climbers say the descent on Day 2 is actually harder than going up, because your muscles are already fatigued, and you need stability to handle the constant impact on your knees.
Why You Cannot Skip Physical Preparation
If you attempt the climb without training, you can still move forward, but your body will struggle with every step. People often say things like “I did not expect my legs to shake this much” or “I did not think breathing would be this heavy.” Training helps reduce all the unnecessary suffering so that you can focus on the experience rather than surviving it.
Altitude Consideration
You cannot train for altitude directly at sea level, but you can train the kind of breathing control and pacing that helps your body adjust better. I have to mention that many climbers do not realise how much slow, steady breathing affects how well they manage the summit push.
Your 30-Day Training Strategy Overview
How the Training Plan Works
This thirty-day structure focuses on progressive conditioning. The idea is simple: you start with manageable effort so your body accepts the workload, and then you gradually increase duration, intensity, and stability.
The training is built on four fundamentals:
- Leg Strength
- Cardiovascular Endurance
- Core Stability and Balance
- Joint Protection and Recovery
These together give you the foundation you need for the long stair-like climb and the steep downhill descent the next morning.
What You Can Expect After 30 Days
You will not become an athlete in one month, but you will become capable. You will feel more confident with long walking hours, your breathing will feel less rushed, and your legs will have the strength to support you when the trail becomes demanding. I have seen climbers who trained consistently for thirty days and surprised themselves with how steady they felt on the trail.
Week 1: Building Your Foundation
During the first week, your only goal is to wake your body up. You do not need to push too hard. You will probably notice that some muscles feel tight or weak, and this is normal.
Training Focus for Week 1:
Basic Leg Strength
- Bodyweight squats
- Step-ups on a low step
- Lunges with controlled movement
Aim for three sessions per week. Keep your reps light and your form clean. Your body needs time to understand what you are asking of it.
Light Cardio Work
Start with brisk walking for twenty to thirty minutes. Some people prefer gentle jogging, but walking is perfectly fine. The most important thing is keeping your heart working steadily.
Core Activation
Simple planks and dead bugs are more helpful than people realise. A stable core reduces the strain on your knees and hips during the climb. You will feel the effect when you start carrying your daypack.
What You Should Pay Attention To
If you feel any sharp pain, slow down and adjust. Pain is information. Many climbers wish they had listened earlier.
Week 2: Increasing Strength and Stability
By Week 2, your body usually adapts to the routine, and this is when you can safely start increasing your training load. The keyword here is “increase,” not “jump.”
Training Focus for Week 2:
Higher Step-Ups and Controlled Descents
Now you can use a bench or a higher step. Pay attention to the downward movement because this mimics the descent at Mount Kinabalu. Many people overlook this part, but the descent is where leg stability truly matters.
Moderate Cardio Sessions
Increase your walking or jogging to forty minutes. Try including slight inclines if you have access to a hilly area. If you train on a treadmill, set a mild incline to simulate climbing without exaggerating the intensity.
Added Core Strength
Side planks and bird-dog movements help with balance. You will feel the benefit during the steep, rocky summit area where your footing becomes more careful.
Practical Tip
This is a good time to break in the shoes you plan to wear. You will probably notice that new shoes feel stiff during downhill movement. Breaking them in early saves you from unnecessary discomfort later.
Week 3: Simulating Real Climbing Conditions
Week 3 is where your training starts looking like the actual climb. You do not need to replicate Mount Kinabalu perfectly, but you want the sensation of continuous effort.
Training Focus for Week 3:
Longer Stair or Hill Sessions
Aim for one long session each week where you climb stairs for thirty to forty minutes in intervals. You can take breaks, but try to keep them short so your breathing rhythm stays engaged.
If you have access to hills, spend at least one hour on a hilly route. Slow, steady hiking is enough. You will feel the elevation gain working your legs.
Strength Training With Slightly Heavier Load
You can hold light dumbbells for step-ups or squats. Nothing heavy. The goal is to strengthen your muscles for endurance, not build bulk.
Controlled Downhill Practice
Practice walking down slopes or stairs at a slow pace. You will understand quickly why this helps. Climbers often say that their legs shake during descent because they never trained slow, controlled downward steps.
Breathing Practice
This is something many people skip. Try breathing deeply through your nose during steady exercise. When climbing, you will depend on slow breathing more than you expect.
Week 4: Polishing Your Endurance and Reducing Fatigue
You should not push to your limit during Week 4. Your body needs to feel ready, not exhausted. Think of this week as your polishing stage.
Training Focus for Week 4
One Long Hike
Do one long walk or hike that lasts between ninety minutes to two hours. Keep it steady and comfortable. This is not the time for a new personal record. The purpose is mental stamina and joint endurance.
Strength Maintenance
Continue your strength routine, but cut the intensity slightly. Your muscles should feel firm, not fatigued.
Light Mobility Work
Gentle stretching, soft tissue work, and simple mobility drills for your hips and ankles help prepare your joints for the demanding movement patterns of the climb. Many climbers are surprised to learn that stiff ankles make the summit climb harder.
Mental Preparation
At this point, your body already understands the rhythm of effort. Remind yourself to stay patient during the climb. Summit attempts require calmness more than speed.
What To Expect During the Actual Climb
Day 1: Continuous Upward Movement
You will be climbing for several hours, and the stairs will feel endless. The good news is that your training has already taught your legs how to endure this steady pressure. You will still feel tired, but it will be manageable.
Day 2: The Summit Push
You will start very early, in the dark, usually around 2 a.m. The air becomes thinner as you climb higher. Your breathing practice and pacing habits from training will help a lot here.
The Descent
This is where your stability training pays off. The downhill is long and taxing, but if your legs and core are prepared, you will maintain control without losing form.
Extra Tips That Climbers Usually Wish They Knew Earlier
- Carry the Right Amount of Water: Carrying too much water can slow you down significantly. Two bottles are usually enough because you can refill at Laban Rata.
- Breaks Help More Than Rushing: Short, frequent breaks prevent burnout and help keep your breathing steady. Many climbers regret forcing themselves to rush.
- Trust a Slow Pace: A slow pace is not a sign of weakness. It is actually what gets you to the summit safely.
- Use Poles for the Descent: If your knees are sensitive, trekking poles make a real difference. They reduce impact and help with balance.
- Warm Up Before You Start: A few minutes of stretching and joint mobility can save you from tightness later in the day.
Your 30-Day Journey Sets the Tone
Training for Mount Kinabalu in thirty days is absolutely possible as long as you stay consistent and honest with your effort. You do not need perfection. You only need steady progress. When you understand how to train physically for Mount Kinabalu in 30 days, the climb becomes less of a struggle and more of a meaningful experience. You will feel the difference from the first few steps on the trail. And when you stand on the summit, tired but steady, you will know that every bit of preparation mattered.


